인터페이스 5일차(Repository)
2023. 1. 9. 13:02ㆍ코딩배움일지/인터페이스 구현
Repository
- MVC 디자인 패턴의 Model의 일부
- 데이터베이스 접근을 담당하는 부분
- 각종 SQL 및 데이터베이스 테이블 관리
- Service의 호출에 따라 데이터베이스 변환 및 검색 후 결과를 반환
Spring Boot Repository 작성
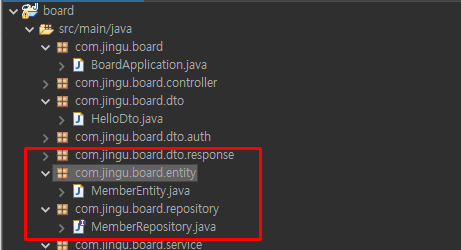
@Entity
- ORM을 사용하기 위해 데이터베이스에 상응하는 Entity Class를 작성
- ORM이 해당 어노테이션으로 작성된 Class를 특정 테이블에 매핑하도록 해줌
- @Entity(엔터티명) 처럼 인자를 넣어 해당 엔터티의 이름을 지정할 수 있음
package com.jingu.board.entity;

import javax.persistence.Entity;
import javax.persistence.Table;

import lombok.AllArgsConstructor;
import lombok.Builder;
import lombok.Data;
import lombok.NoArgsConstructor;

/*Member
	이메일
	비밀번호
	닉네임
	프로픨 사진
	전화번호
	주소
 */

@Data
@Builder
@NoArgsConstructor
@AllArgsConstructor
@Entity
@Table(name="MEMBER")
public class MemberEntity {
	private String email;
	private String password;
	private String nickname;
	private String profile;
	private String telNumber;
	private String address;
} //spring 과  데이터베이스 연결
@Table
- 해당 Entity의 이름을 지정하기 위한 어노테이션
- @Table을 추가하지 않으면 @Entity의 인자로 지정한 이름을 따르며 @Entity로 이름을 지정하지 않을 시 클래스 이름을 테이블 이름으로 간주함
테이블 생성
/*Member
이메일
비밀번호
닉네임
프로픨 사진
전화번호
주소
*/

create table MEMBER(
email varchar(50) Primary key,
password varchar(20) not null,
nickname varchar(20) not null,
profile varchar(255),
tel_number varchar(20) not null,
address text not null
);
@Id
- primary key로 사용할 필드를 지정
@GeneratedValue
- Id 형태의 Primary key를 자동으로 생성해주는 어노테이션
@GenericGenerator
- 커스텀 Grenerator를 사용하고 싶을 때 사용 // 안써도됨
@Repository
- 해당 클래스를 Spring Bean 으로 생성 해주는 어노테이션
- @Component로 사용되긴 하지만 해당 클래스가 Repository를 담당한다는 것을 직접적으로 보여주기 위해 Repository라는 이름을 사용
JpaRepository
- JpaRepository Interface를 상속받아 작성
- JpaRepository<T, ID> : T - 테이블에 메핑할 엔티티 클래스, ID - 해당 엔티티의 기본 키 타입
Repository는 Interface
package com.jingu.board.repository;

import java.util.List;

import org.springframework.data.jpa.repository.JpaRepository;
import org.springframework.data.jpa.repository.Query;
import org.springframework.stereotype.Repository;

import com.jingu.board.entity.MemberEntity;

// 해당 인터페이스가 Repository 임을 명시
@Repository
// Repository 는 interface로 작성
// JpaRepository interface를 상속받야야함
// JpaRepository <Table(EntityClass), Primary key type>
public interface MemberRepository extends JpaRepository<MemberEntity, String> {

	// @Query : 커스텀 ORM 메서드를 작성
	// 테이블 명을 alias 로 지정해서 사용
	// ?1, ?2, ... : 매개변수로 받아온 변수를 해당 위치로 넣기 위한 구문
	@Query("select m from MEMBER m WHERE m.email = ?1")
	List<MemberEntity> myFindAll(String email);
}
Service에서 Repository 사용
CRUD 를 잘해라
AuthService
package com.jingu.board.service;

import java.util.List;

import org.springframework.beans.factory.annotation.Autowired;
import org.springframework.stereotype.Service;

import com.jingu.board.dto.auth.AuthPostDto;
import com.jingu.board.dto.auth.LoginDto;
import com.jingu.board.dto.response.ResponseDto;
import com.jingu.board.entity.MemberEntity;
import com.jingu.board.repository.MemberRepository;

//@Service : 해당클래스가 Service 레이어 역활을 함
@Service
public class AuthService {

	@Autowired MemberRepository memberRepository;

	public String hello(){
		// Entity Class 로 entity 빌드
		MemberEntity memberEntity =
				MemberEntity
				.builder()
				.email("qwe@qwe.com")
				.password("qwe123")
				.nickname("karatejin")
				.telNumber("010-1234-5678")
				.address("busan")
				.build();
		// 빌드한 Entity를 데이터 베이스에 저장
		memberRepository.save(memberEntity);

		// MemberRepository가  상속받은 JpaRepository 메서드를 사용하여 데이터 검색
		MemberEntity savedMemberEntity =
				memberRepository.findById("qwe@qwe.com").get();

		// MemberRepository에 작성한 커스텀 메서드를 사용
		List<MemberEntity> list = memberRepository.myFindAll("qwe@qwe.com");
		System.out.println(list.toString());

		return savedMemberEntity.getNickname();
	}

	public ResponseDto<LoginDto> login(AuthPostDto dto){
		LoginDto result = new LoginDto("JWT",3600000);
		return ResponseDto.setSuccess("", result);
	}

}
AuthController
package com.jingu.board.controller;
import org.springframework.beans.factory.annotation.Autowired;
import org.springframework.web.bind.annotation.GetMapping;
import org.springframework.web.bind.annotation.PostMapping;
import org.springframework.web.bind.annotation.RequestBody;
import org.springframework.web.bind.annotation.RequestMapping;
import org.springframework.web.bind.annotation.RestController;
import com.jingu.board.dto.auth.AuthPostDto;
import com.jingu.board.dto.auth.LoginDto;
import com.jingu.board.dto.response.ResponseDto;
import com.jingu.board.service.AuthService;
@RestController
@RequestMapping("api/auth/")
public class AuthController {
// @Autowired : 해당하는 클래스 인스턴스를 자동으로 생성(주입) 해줌
@Autowired AuthService authService;
@PostMapping("")
public ResponseDto<LoginDto> login(@RequestBody AuthPostDto requestBody){
// LoginDto result = new LoginDto("JWT",3600000);
// return ResponseDto.setSuccess("login success", result);
return authService.login(requestBody);
}
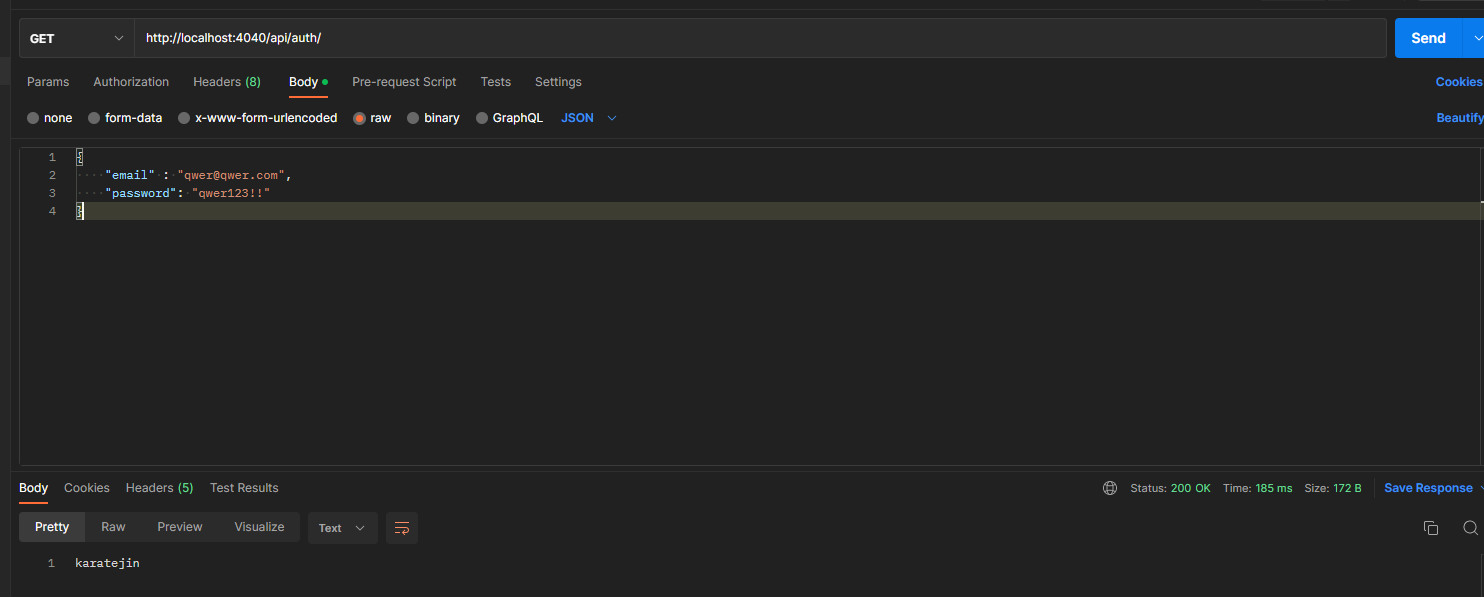
@GetMapping("")
public String hello() {
return authService.hello();
}
//////////////////////////////////////////////////////////////
}
@Query
- 원하는 쿼리를 지정하기 위한 어노테이션
UserController
package com.jingu.board.controller;
import org.springframework.beans.factory.annotation.Autowired;
import org.springframework.web.bind.annotation.PostMapping;
import org.springframework.web.bind.annotation.RequestBody;
import org.springframework.web.bind.annotation.RequestMapping;
import org.springframework.web.bind.annotation.RestController;
import com.jingu.board.dto.response.ResponseDto;
import com.jingu.board.dto.user.PostUserDto;
import com.jingu.board.dto.user.PostUserResponseDto;
import com.jingu.board.service.UserService;
@RestController
@RequestMapping("api/user/")
public class UserController {
@Autowired UserService userService;
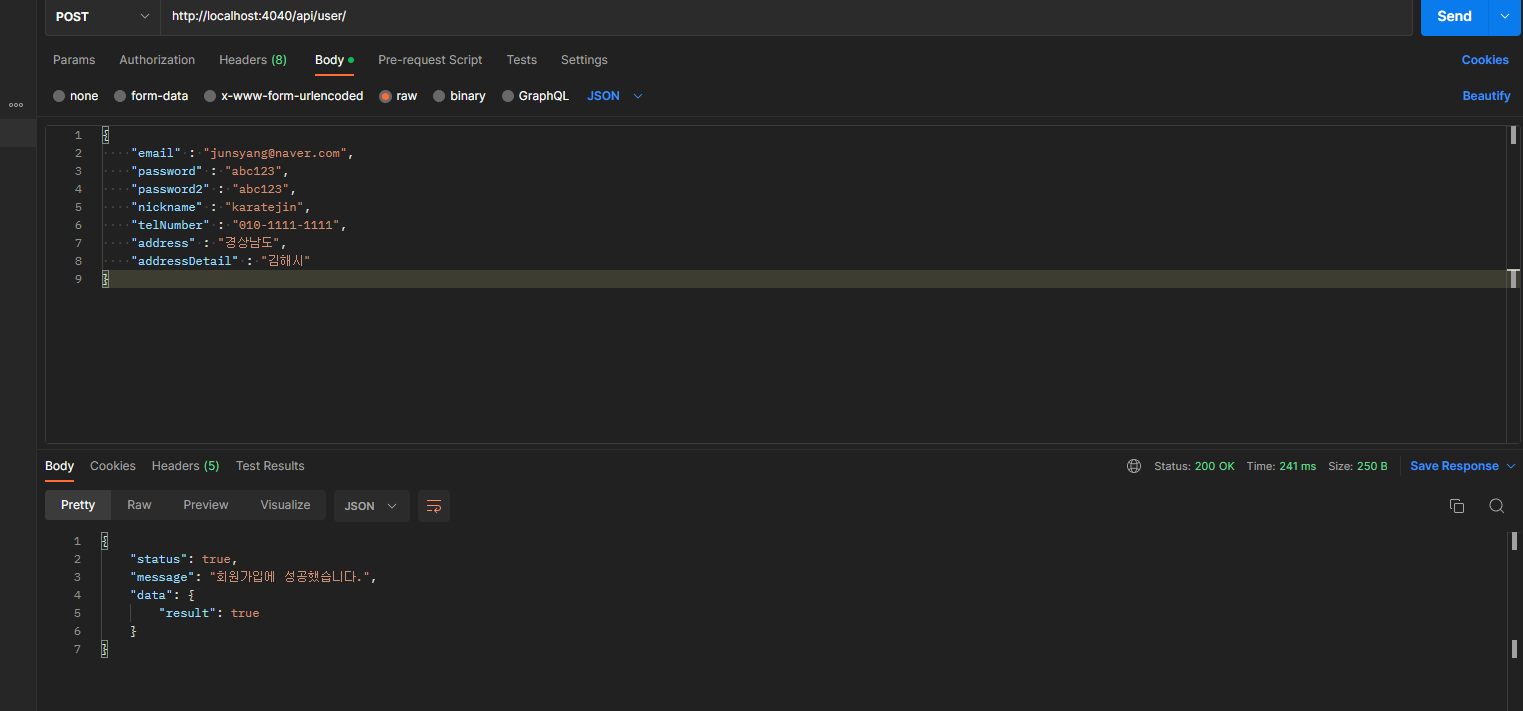
@PostMapping("")
public ResponseDto<PostUserResponseDto> postUser(@RequestBody PostUserDto requestBody){
return userService.postUser(requestBody);
}
}UserService
package com.jingu.board.service;

import org.springframework.beans.factory.annotation.Autowired;
import org.springframework.stereotype.Service;

import com.jingu.board.dto.response.ResponseDto;
import com.jingu.board.dto.user.PostUserDto;
import com.jingu.board.dto.user.PostUserResponseDto;
import com.jingu.board.entity.MemberEntity;
import com.jingu.board.repository.MemberRepository;

@Service
public class UserService {

	@Autowired MemberRepository memberRepository;
	public ResponseDto<PostUserResponseDto> postUser(PostUserDto dto){
		String password = dto.getPassword();
		String password2 = dto.getPassword2();

		if(!password.equals(password2)) return ResponseDto.setFailed("비밀번호가 서로 다릅니다.");

		MemberEntity member = MemberEntity
				.builder()
				.email(dto.getEmail())
				.password(dto.getPassword())
				.nickname(dto.getNickname())
				.telNumber(dto.getTelNumber())
				.address(dto.getAddress() + " " + dto.getAddressDetail())
				.build();

		memberRepository.save(member);

		return ResponseDto.setSuccess("회원가입에 성공했습니다.", new PostUserResponseDto(true));
	}
}
결과
'코딩배움일지 > 인터페이스 구현' 카테고리의 다른 글
| 인터페이스 7일차 (Update) (0) | 2023.01.11 |
|---|---|
| 인터페이스 6일차 (회원가입 및 중복여부확인 Create, Read) (0) | 2023.01.10 |
| 인터페이스 5일차 (Service, Autowired, JPA, ORM) (0) | 2023.01.09 |
| 유효성검사 (0) | 2023.01.09 |
| 인터페이스 4일차 (postman) (0) | 2023.01.06 |